I’m still here! (BONUS: a Lunchables Soap Story)

I haven’t posted in over a month, though I wanted you all to know that I am certainly still creating new (and exciting) products!  In the past week, I’ve made three NEW soap/shampoo bar concoctions and plan on making a fourth one tonight.  The reason for the lack of posts: experimentation leaves no time for picture-taking!  Not for me, at least.  I am testing new techniques, new molds, and new scents for my customers and I think they’re going to love what I have curing 🙂  I like to always add pictures of my steps and I simply had to concentrate too much on getting everything correct to worry about camera angle.  The good news is I think I’m getting the hang of it and will be able to multitask during the process very soon.

On another, perhaps similar, note.  I’ve been trying to perfect a new swirl technique– nothing too fancy, just a basic “in the mold” swirl with two colors.  Haha, welllllll…. The end product is still very much usable, but did not turn out how I had intended IN THE LEAST.  I attempted a cherry (red) mango (orange) swirl and played with the actual color formation too long that it reached a thick trace before getting to the combining/swirling.  When I saw the thick trace, I poured the mango (orange) batter into the rectangle loaf mold and topped it with cherry (red).  I assumed (hoped) a swirl would have naturally developed during my several plops of batter.  When I cut the loaf into bars the next day, I saw 1) that the orange and red did not swirl AND 2) just so happened to look like a slab of salami (red) on top of cheddar cheese (orange).  D’oh!  My product looks more like a Lunchable than it does a beautiful bar of soap.  Nevertheless, the bars smell wonderful and they are beginning to change in color as they cure.  I’m not sure *everyone* will automatically think of a 3rd grader’s lunch when they see the bars, but I certainly will!  Gah!

-Holly

Rockin’ and Rollin’

Hey, you!

This week has certainly been a crazy week– I haven’t actually gotten to any creations, though I’m gearing up to do some this weekend.  Lotion bars are a must; and perhaps some small batches of soaps are in order.  I’ve found that I have a lot of half-empty FO bottles lying around…. it’s about time I use what I’ve got because I just ordered a ridiculous amount of FOs from Bramble Berry a few minutes ago.  I need to make some room on the shelves!

Now, to the EXCITING news!!!!  My customer base is expanding (aaaand that’s why I just went wild buying more products).  Friends of friends have been searching for handcrafted soap and my name happened to come up.  This is EXACTLY where the business name, Six Degrees of Soap, comes from.  I feel incredibly lucky, honored, and fortunate to be able to supply some new, great, people with my products.  It’s a great feeling.

Expect an update with how well (cross your fingers) my experimentation goes this weekend!

Holly

SIMPLE Lotion Bar Recipe

Yesterday was full of lotion recipe experimentation and football playoffs.  Since the afternoon was going to be dominated with chips, dip, family, and football, I decided to take on my lotion bar recipe experimentation in the morning.  I think I like this recipe… I certainly like this one better than the first recipe I tried.

Recipe
1/2 cup beeswax
1/3 cup mango butter
1/3 cup shea butter
These measurements work well for a small test batch, which is what I was going for.


I used products from Bramble Berry, which is my go-to soap, shampoo, and lotion bar product supplier.

IMG_2448

Since I do not own a double boiler, I began by boiling about 2 inches of water in a sauce pan.  I placed an old pizza sauce jar in the water and added the beeswax.

IMG_2443

Once the beeswax was almost completely melted, I added the mango butter.  The shea butter came soon after that.  I stirred the mixture about every 5 minutes while I set up the silicone molds.  I’ve read that you can add these ingredients to the jar at the same time, but I have also read that shea butter can be finicky when overheated… it turns a bit grainy.  Since this is a very easy process, I decided to play it safe and add each ingredient separately.  I’ve gotten too confident in the past and have ruined recipes and good ingredients.

IMG_2446 << Mango        Shea  >> IMG_2447

Once melted (if you wanted to add fragrance or essential oils, this is your time to do it), I slowly poured the liquid into my trusty silicone cupcake molds.  You can see the bars beginning to solidify in the photo on the right (nothing is in the yellow cup, by the way).

IMG_2452    IMG_2456

You can remove the lotion bars from the molds when they are completely solid, which should take only a few hours.  I went to my football activities and removed the bars the next day.  Here is the final product!  My husband noted that the bars look like white chocolate peanut butter bars (touche, Husband) and that he wanted to eat one.  I actually have rectangle molds to use for the bars that I intend to sell and give as gifts.  The cupcake fake-outs are only around for testing and overflow.  Until then, I’ll be sure to put Mr. Yuck stickers around them 🙂

IMG_2465

Until next experiment!

Holly

Lessons in Lotion Bars

When my mind is set on something, I sometimes become obsessed.  Currently, I’m set on perfecting shampoo, soap, and lotion bar recipes because that will get me one step closer to having my own body products business.  This morning was my first attempt at lotion bars.  Since lotions bars do not involve sodium hydroxide, I knew I could eyeball (read: be lazy) measuring the ingredients.  I love eyeballing ingredients.  That’s sort of weird.  That’s also why I stink at making rice.  I once had a mental breakdown over it in front of my then-boyfriend, now-husband.  He actually stayed with me!

I digress… My eyeballed lotion bar recipe was gotten from here.  In reality, my recipe was more like:

1/2ish cup beeswax
1/4ish cup coconut oil
1/3ish cup mango butter
1/3ish cup shea butter
a splash of FO

See?  I eyeballed it.  In the end, my product turned out just fine… Lightly-scented lotion bars.  Here are a few pictures of the solidification process.  I wanted to make a small batch and found that these silicone cupcake cups were perfect for testing out this recipe.

IMG_2432   IMG_2436   IMG_2437   IMG_2459

Even though this was a pretty easy task, I learned A LOT today:

1. Beeswax is a real bugger to work with.  It takes a lot of heat to melt it, so it’s sort of dangerous to melt it in the microwave (there are horror stores of how the glass bowl completely exploded under all the heat).  I suggest using the double boiler method.  Since I do not own a double boiler, I melted the ingredients in a glass jar placed inside a stainless steel pot with boiling water.  It worked beautifully.  I began trying to melt the beeswax in a glass measuring cup in the microwave.  It was messy and, five hours later, I’m still trying to get all the beeswax out of the measuring cup.  I don’t know if I can use this for soapmaking any more (this measuring cup is what holds my lye water)  Note: keep a glass jar solely for making lotion bars.

2. Though the recipe works, I do not like it.  Trial and error, Holly.  Trial and error.  I think I don’t like to coconut oil.  It’s too oily, for lack of a better adjective.  My next attempt will most likely be a recipe made of equal parts beeswax, mango butter, and shea butter.  Eyeballed, of course 🙂

Holly

First Success (sort of)

Let’s recap.  First attempt at cold process soapmaking: forgot some of the castor oil.  Second attempt at cold process soapmaking: didn’t blend to trace.  Third attempt at cold process soapmaking: here we go!

The previous day, Chris made me a wooden loaf soap mold and we had our first disaster.  We had to throw out our entire batch.  A day later: our mold is dry, our ingredients are weighed, goggles are on, and it’s time to TRY AGAIN!  (At this point, I was really, really, getting tired of trying again.)

We watched several YouTube videos about how to successfully line a wooden mold with freezer paper, so that part was covered.  Now I just had to compose myself and not jump the gun when it came to pouring the batter before it reached trace.  Deep breaths, Holly, deep breaths.  All in all, the batch turned out to be my best so far (it’s still curing, so I haven’t gotten to use it in the shower yet).  I carefully monitored the mold to make sure oils were not seeping out and occasionally peeked under the lid to look at the batch (which is exactly what I told my husband not to do.  Do as I say, not as I do, right?).  Twenty-four hours later, I took the loaf out of the mold and crossed my fingers that a pool of oil wouldn’t come flowing out when I cut it (Google it!).  I was preparing for the worst.  Thankfully, no oil came spewing in my general direction!  The day-old loaf was the consistency of hard cheese (woohoo!) and I cut it into approximately one inch pieces.  It is now curing on a rack in the spare bedroom.  The final test will be using it in the shower.  Until then, I’ll say I made my first decent batch!

Holly

First FAIL

Wow.  Three posts in one day.  I must have a lot to tell the world.

After seeing that plastic soap  molds weren’t the best to use, my husband offered to make a wooden loaf mold and round PVC pipe mold for my soap bars.  After being that couple at The Home Depot (you know, the couple that stands in front of the 2x4s arguing about the dimensions of the molds), we set out to get this soap business started.  But first, I still had to successfully make a batch a soap without messing up.  Good grief…

Chris made me a beautiful loaf mold out of Poplar.  It was great– it had two sides that could be removed as well as several holes so that I could make different batch sizes.  Anxious to put the mold to use, we haphazardly lined it with freezer paper (problem 1) and got to the soap making.  I paid close attention to the amount of oils used (8 oz of castor oil!!) and anxiously waited for the oils and the lye water to reach the necessary temperatures.   Still a bit nervous from my first go-around with solo soapmaking, I quickly added the lye water into the melted oils and began using the stick blender to reach trace.  I was too anxious.  Remembering that my first batch seized, I moved too quickly with this batch (problem 2).  I poured the batter into the new wooden mold before checking to see that it had reached trace.  I actually thought the batter looked a bit strange in the mold (it looked like the oils and lye water were separating a bit), but I convinced myself that I was over-thinking things and that it would turn out fine.  I put the lid on the mold and went on to cleaning up the kitchen.

About half an hour later, I checked on the mold and saw that oils were completely leaking out!  Luckily, we had placed the mold on freezer paper, saving our dear kitchen table from a huge mess.  I removed the lid from the mold to find that the oils were definitely separated form the lye water.  BUMMER!  Since we were unable to retain all of the rogue oils (some had soaked into the mold), we had to throw the whole batch out.  I was so disappointed.  Luckily, we were able to save the newly-made mold.  It now looks worn in!

We let the wood dry overnight and decided to give it a go the next day.  Starting your own business is hard!

Holly

First Solo Attempt

First off, I did not get ample photos of my (mis)adventures for the first several batches.  Future posts will have more eye candy.

I knew my first attempt at making shampoo bars would be tricky, and I was right.  Mainly because I can be scatter-brained and my mind goes a thousand miles an hour sometimes.  While my mind was going at warp speed, I used 6 oz of castor oil instead of 8 oz.  D’oh!  Here’s the story….

I’ve used this 3lb shampoo bar recipe (ingredients at the end of this post) countless times with my friend in Idaho, so I was almost too confident when I was measuring out the ingredients.  Combine this with the nervousness of making cold process soap for the first time by yourself and you have a recipe for sub-par soap.  And, yes, it is possible to be too confident and extremely nervous at the same time.  I was too confident because I knew we’d made this awesome recipe tons of times.  I was extremely nervous because I realized that a lot goes into properly making soap and my friend was usually the brains of the operation.  I was missing the brains!

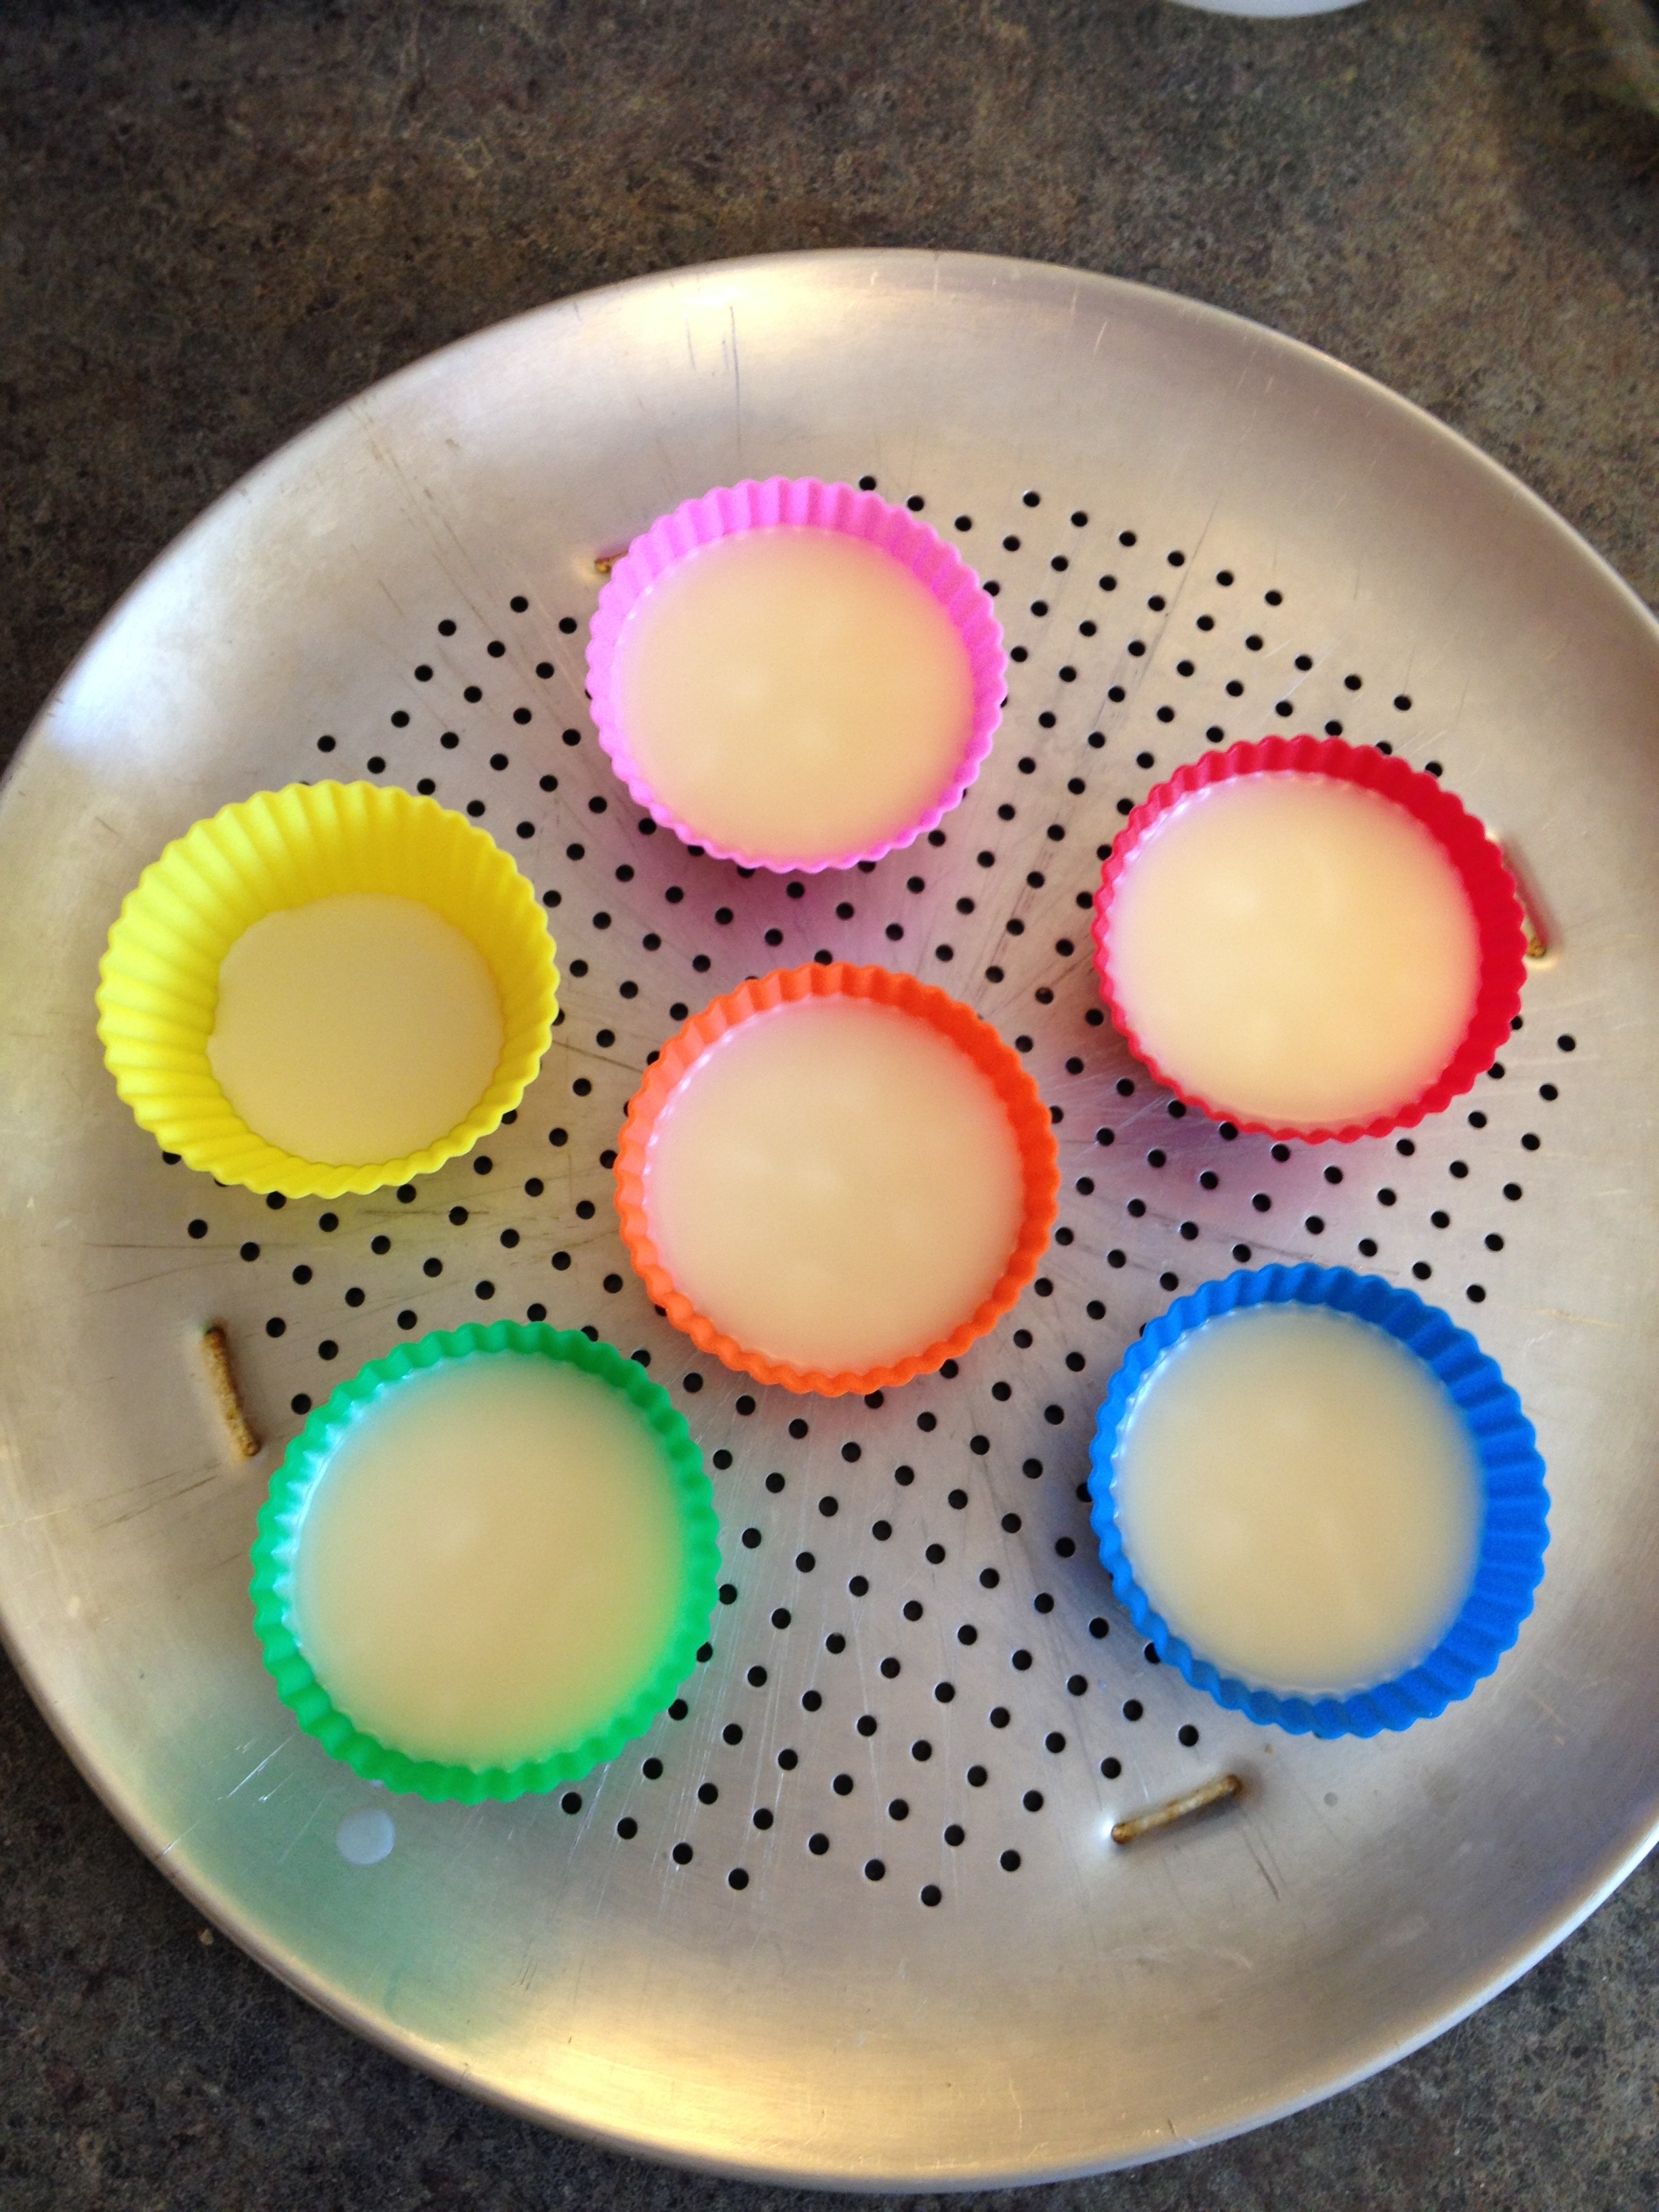
The overall first attempt went relatively well, even with the batter accelerating quickly due to the type of fragrance oil used.  Several hours after pouring the batter in to plastic molds that I got from Michael’s (more on these molds later), my mind kept telling me that I didn’t use enough castor oil.  I measured the remaining castor oil that I had on the shelf and, grrr, I had more than I should have.  Rebatch time! (and more lessons to be learned!)

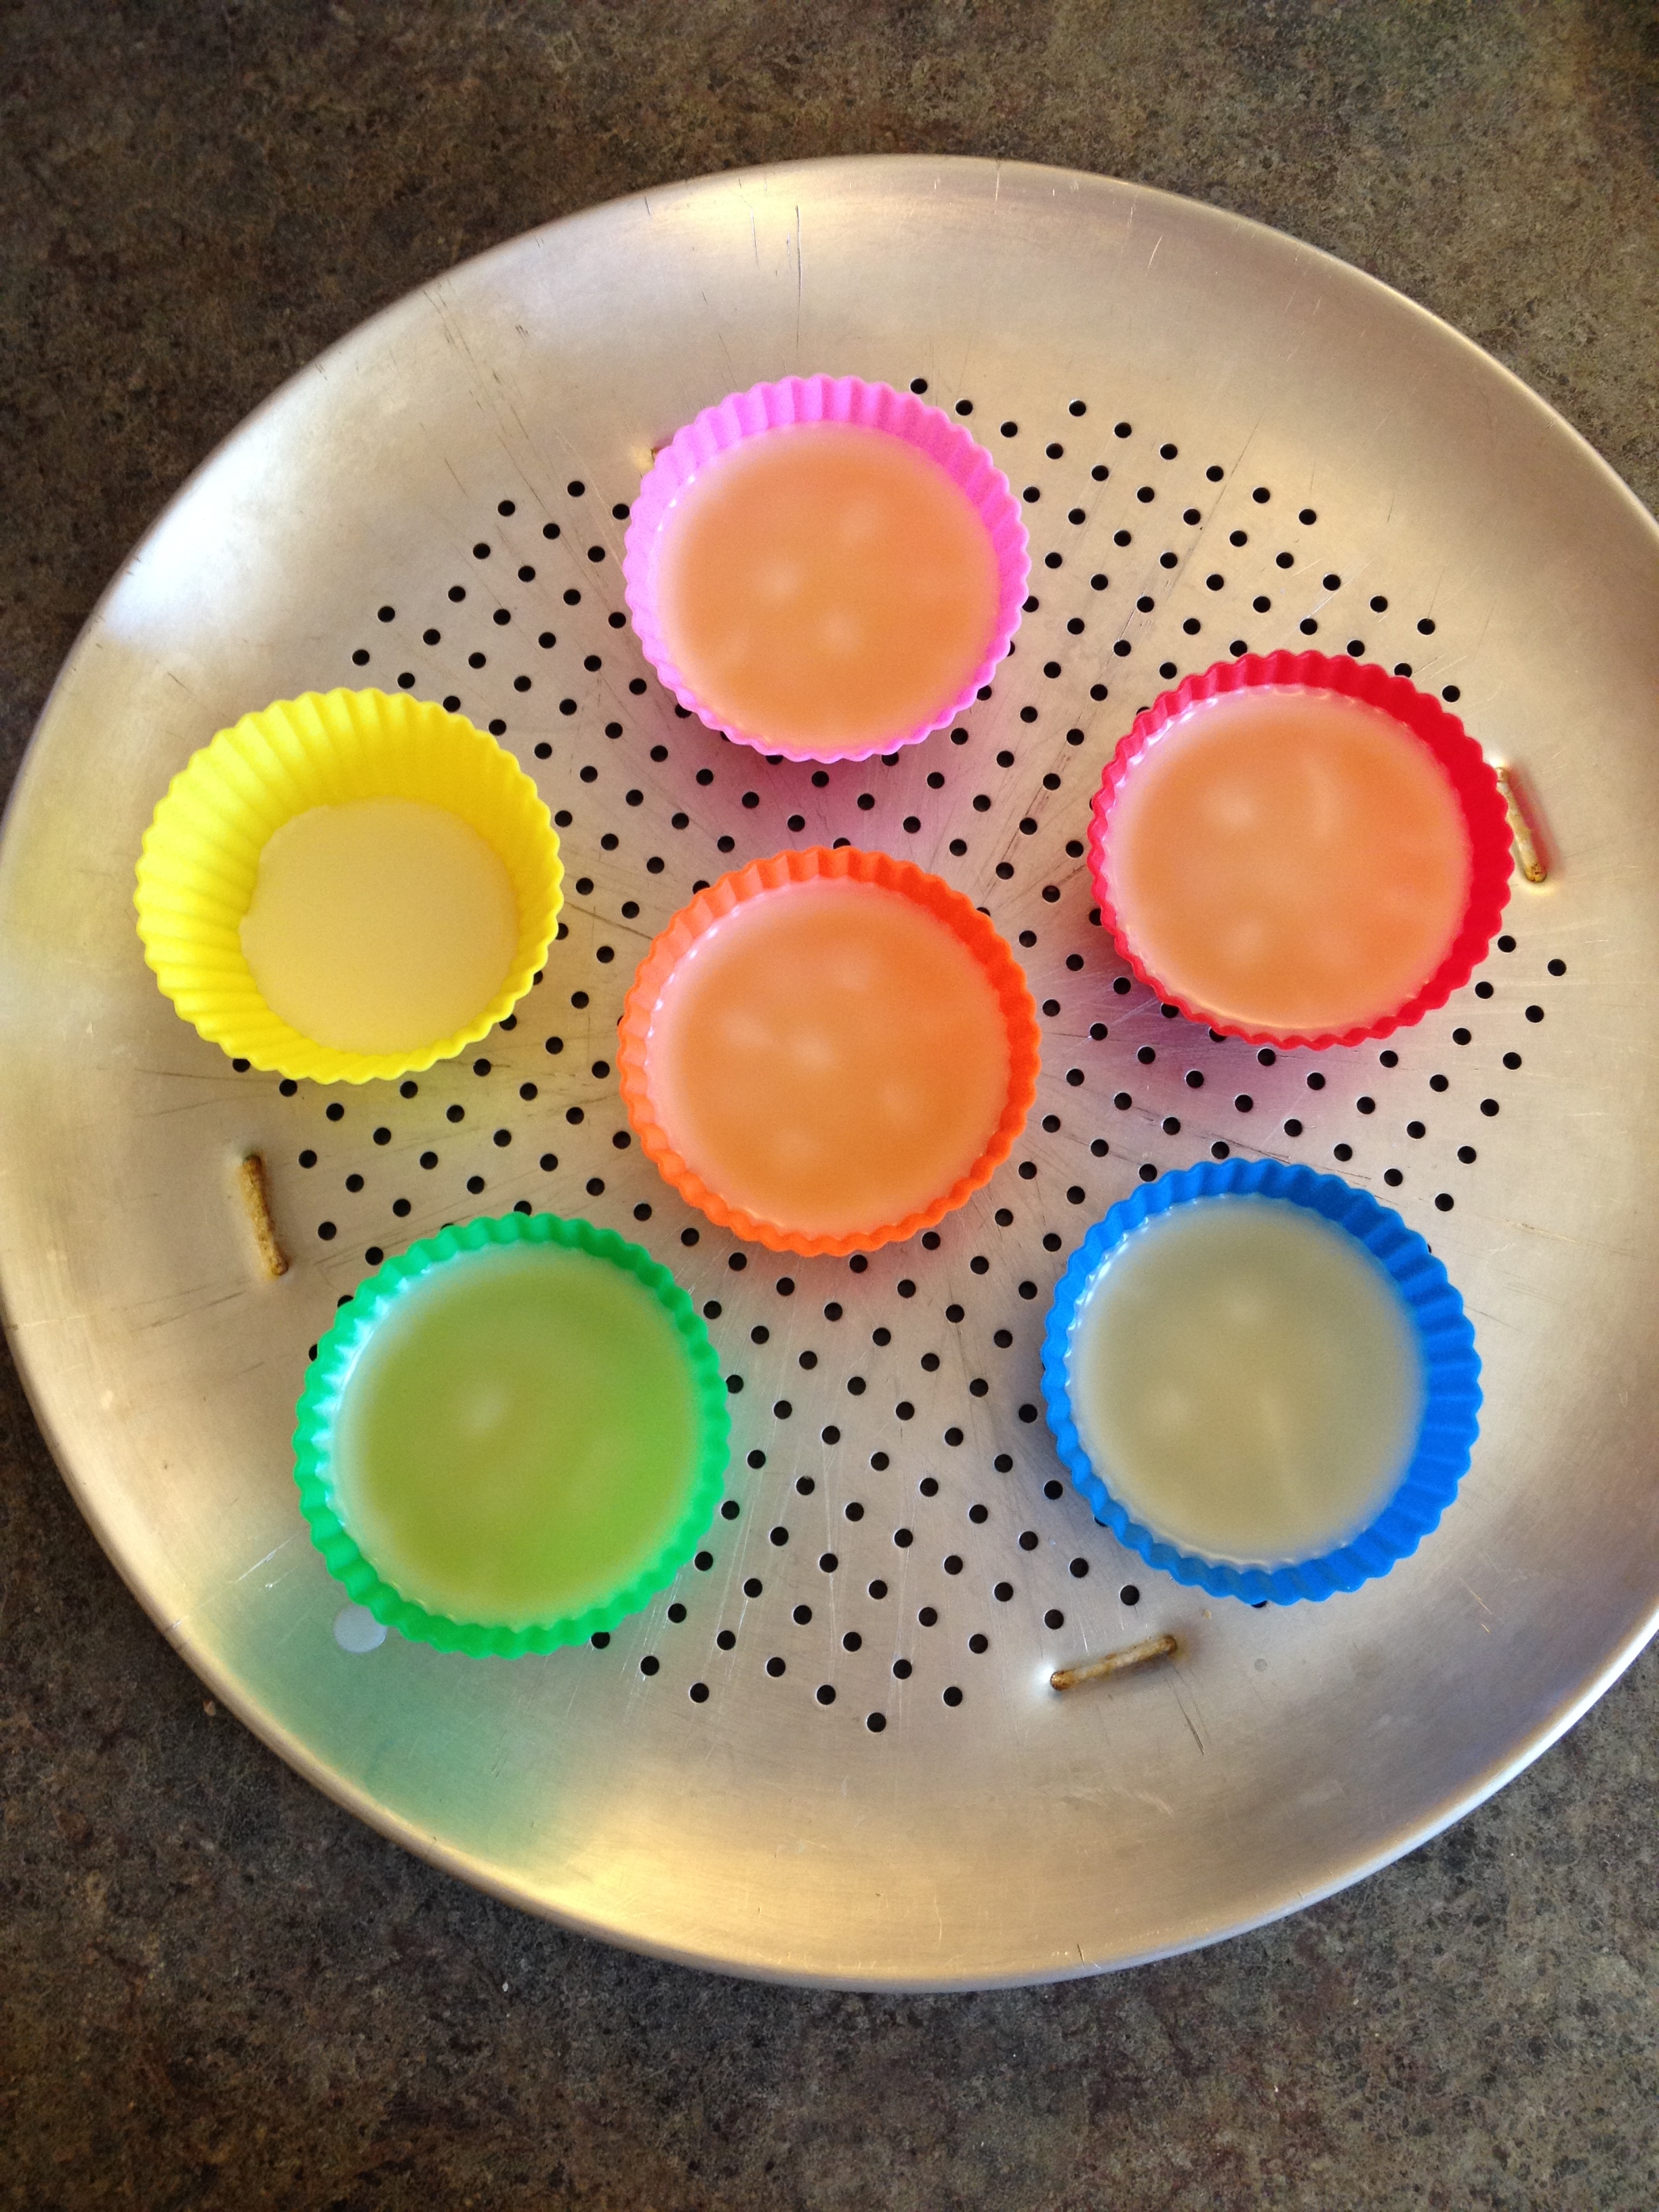
After Googling how to rebatch, I put my half solid shampoo bars, 2 oz of castor oil, and about 2 oz of milk into a Crockpot and set it on high.  I don’t know if the milk was necessary, as the bars were still semi-soft.  I mixed the goo about every thirty minutes and decided everything was done after about 3 and a half hours of cooking.  My mixture looked just like the pictures I found on other peoples’ blogs, so I figured I was okay.  I plopped the gel-like goo back into my cheap, plastic molds again, tapped the molds on the counter to get rid of air bubbles, crossed my fingers, and finally went to bed.  It was about 11:30pm.

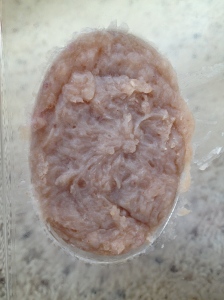
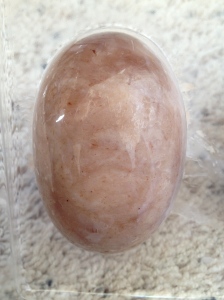
I woke up the next morning to solidified shampoo bars!  I was ecstatic beyond belief because, though the shampoo bars sort of looked like muscles (or vomit), I was pretty sure I had a usable product after my measuring mishap.  The only things I wish I would have done was 1.) use sodium lactate in my mixture, which helps to solidify the bars quicker, and 2.) use silicone molds.  Since I used milk in the rebatch, the bars are taking longer to harden.  Since I’m using plastic molds (never again!), I cannot get the bars out.  Basically, I have to let them fully cure and harden in the molds.  I check them each day and they seem to be slowly loosening from the plastic.  (and I’m slowly dying inside waiting for this to happen)

Since I technically turned the cold process shampoo into hot process shampoo during rebatch, I sped up the saponification process and the bars can be used as soon as they pop out of the molds.  Yesterday, I tested one of the free bars and it worked just fine (slow clap).  My absent-mindedness was overcome!  Overall, lessons were learned and I made a usable product.  It just sort of looks… weird.

IMG_2438   IMG_2439

Oh well.  I’m sure my friends and family will be happy to get a free bar or two.

And that’s my first attempt at solo soap making.  It can only go up from here (hint: it doesn’t.  Read my next post.).

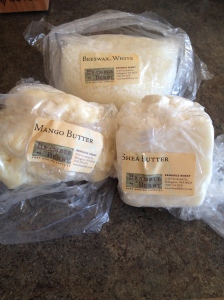
3 lb cold process shampoo bar recipe:
10 oz coconut oil
10 oz palm oil
8 oz castor oil
8 oz olive oil
12 oz distilled water
5 oz sodium hydroxide (lye)
**disclaimer: please use the necessary safety precautions when making soap and working with lye.  There are many helpful tutorials on the web that discuss the precautions one should take while working with caustic chemicals.

Holly

Introduction

Hi.  My name is Holly.  I’ve been hand crafting soap and shampoo bars with a friend for about three years now.  In December of 2013, I decided to make this hobby into a small business— but before I could actually create a business, I needed to make sure I could craft quality (read: sell-able) products consistently.  Turns out that’s hard to do.  …and that’s where this Blog comes in.  I’ve attempted to make four different body products in January alone and half of them have been near failures or products that I just don’t like (dammit!).  I’ve decided to chronicle the good, the bad, and the ugly on here mainly because I need a way to keep track of what I do right and what I do that causes kitchen explosions.  Also, I figure readers can learn from my mistakes, get inspired from the products that actually make it, and giggle at my misfortunes.  Enjoy!

It all started when I lived in Idaho and began using shampoo bars from a local soap maker.  I was unsatisfied with store-bought shampoos and my husband was getting ready to spend 3 months at the geographic center of Greenland.  He was limited in space and needed compact toiletries that would last him the whole time.  We decided shampoo bars would be good to try.  Fast forward four years later and shampoo bars are the only kind of shampoo we use!

Around the same time that I began using shampoo bars, a friend of mine mentioned that she was interested in making cold process soap for fun.  On weekends, we would goggle up and create caustic concoctions (I love alliteration) in her kitchen and we got sort of good at it.  I’ll be honest and say that she was the main soaper and I was just the assistant most of the time.  She even found a shampoo bar recipe that we still use to this day.  In case you were wondering, the shampoo recipe is simply a cold process soap recipe with a lot of castor oil in it.  Some people have a hard time coping with this.  Anyways, moving on..

In August of 2013, my husband and I moved to Colorado because he graduated and got a big person job.  And there I was, taking online classes in a new state, gearing up for a medical program, and needing to make more shampoo bars because we were running low.  Since I like to make bigger soap batches, I always have extra bars lying around.  What better to do with the extra bars than to sell them? I thought.  Well, making the soap by yourself is a lot harder when you don’t have your friend’s second set of hands to help.  Nevertheless, here I am, attempting to make soap by myself and not burn down my kitchen.  Does renter’s insurance cover that?  Alas, now I can begin telling you all about my creations.

Thanks for reading,

Holly